并发编程系列-同步器实现五 CyclicBarrier
前言
继续学习基于同步器的另一个并发编程的场景 CyclicBarrier 的实现。字面意思是循环(cyclic)的屏障(barrier)。整体就是多线程的同步屏障。
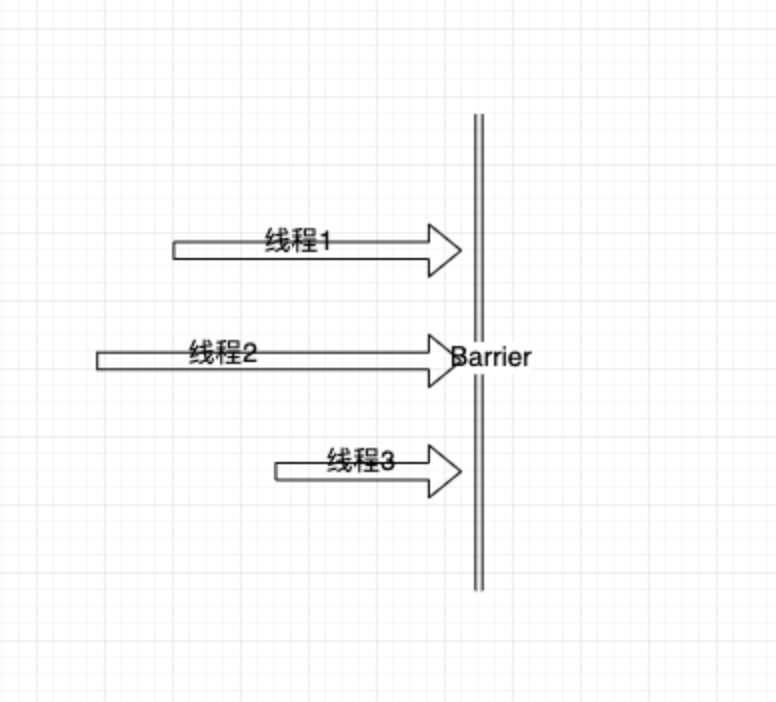
CyclicBarrier使一定数量的线程到达屏障时进行等待,等到最后一个线程达到时,再一起继续执行,支持再次使用。
系列文章
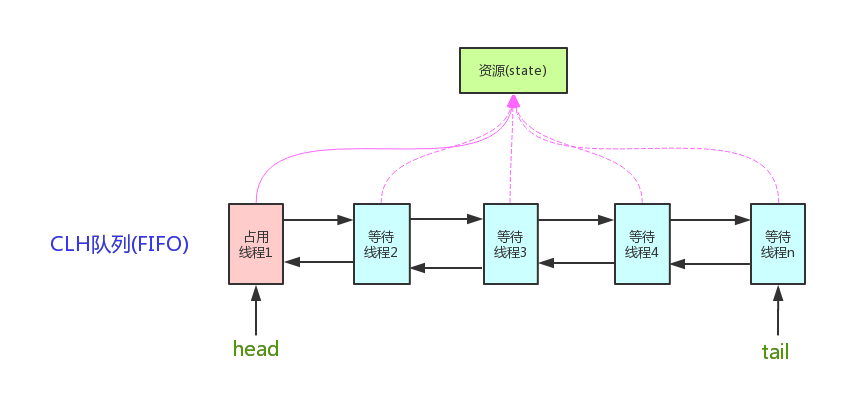
一、并发编程系列-同步器 AQS
二、并发编程系列-同步器实现一 ReentrantLock
三、并发编程系列-同步器实现二 ReentrantLock Condition
四、并发编程系列-同步器实现三 CountDownLatch
五、并发编程系列-同步器实现四 Semaphore
六、并发编程系列-同步器实现五 CyclicBarrier
CyclicBarrier大致如下:
CyclicBarrier
先看下CyclicBarrier的类结构
CyclicBarrier的成员变量
// 屏障,使用条件队列Condition
private final ReentrantLock lock = new ReentrantLock();
private final Condition trip = lock.newCondition();

// 阻塞的线程数,final不可改变,记录下后以便轮训使用
private final int parties;

// 所有线程到达后,执行的任务,可有可无
private final Runnable barrierCommand;

// 当前屏障标识
private Generation generation = new Generation();
// The generation changes whenever the barrier is tripped, or is reset
private static class Generation {
	boolean broken = false;
}

// 还需要等待的线程数
private int count;
Generation说明一下
Generation用来控制屏障的循环使用的,如果generation的broken为true的话,表示屏障损坏,后续的线程调用await方法时,都会抛出BrokenBarrierException异常。
导致屏障损坏的原因有可能:
1、如果有线程中断,抛出线程中断之前,会置breakBarrierd的generation.broken=true;
2、手动调用reset方法,中断当前屏障,开启下一次的同步屏障
3、某个线程等待超时
继续了解 CyclicBarrier的方法
// 构造器,屏蔽的数量
public CyclicBarrier(int parties) {
        this(parties, null);
}

// 构造器,屏蔽拦截的线程数量及屏蔽结束之后的执行的任务
public CyclicBarrier(int parties, Runnable barrierAction) {
        if (parties <= 0) throw new IllegalArgumentException();
        this.parties = parties;
        this.count = parties;
        this.barrierCommand = barrierAction;
}

// 下一代,为下次循环屏蔽做准备
private void nextGeneration() {
        // 唤醒当前屏蔽的线程
        trip.signalAll();
        // 初始化 set up next generation
        count = parties;
        generation = new Generation();
}

// 破坏屏障
private void breakBarrier() {
        generation.broken = true; // 更新屏障标识
        count = parties;
        trip.signalAll();	// 唤醒等待在当前屏障的线程
}

// 关键方法:
private int dowait(boolean timed, long nanos)
        throws InterruptedException, BrokenBarrierException,
               TimeoutException {
	// 获取锁
        final ReentrantLock lock = this.lock;
	// 获取排它锁资源,才能继续
        lock.lock();
        try {
	    // 当前代
            final Generation g = generation;
	    // 如果当前代的屏障之前别破坏了,则抛异常
            if (g.broken)
                throw new BrokenBarrierException();
	    // 如果线程被中断过,则破坏屏障(唤醒等待线程、重置count),且后续线程均抛BrokenBarrierException
	    // 当前线程再抛InterruptedException异常
            if (Thread.interrupted()) {
                breakBarrier();
                throw new InterruptedException();
            }

            int index = --count;
            if (index == 0) {  // tripped, 拦截到最后一个线程
                boolean ranAction = false;
                try {
			// 如果有Runnable任务,则执行
                    final Runnable command = barrierCommand;
                    if (command != null)
                        command.run();
                    ranAction = true;
			// 开启下一代/魂环的屏障
                    nextGeneration();
                    return 0;
                } finally {
                    if (!ranAction)
                        breakBarrier();
                }
            }

            // loop until tripped, broken, interrupted, or timed out
            for (;;) { // 循环屏障拦截,所有线程
                try {
                    if (!timed)
			// 关键方法,进入条件队列,trip为当前锁的condition
                        trip.await();
                    else if (nanos > 0L)
			// 进入条件队列,支持超时(一旦线程是超时醒的,则破坏屏障,抛出异常)
                        nanos = trip.awaitNanos(nanos);
                } catch (InterruptedException ie) {
		    // 如果等待中被中断,且仍未当前代,则进行屏障失效
                    if (g == generation && ! g.broken) {
                        breakBarrier();
                        throw ie;
                    } else {
                        // 如果已经不是原来那代了,则不要影响当前代哈
                        Thread.currentThread().interrupt();
                    }
                }
		// 屏障破坏了,等待被唤醒的线程同样抛出异常
                if (g.broken)
                    throw new BrokenBarrierException();

		// 关键关键:正常会执行此处,以为index=0时会调用nextGeneration();进行唤醒屏障等待的线程,
		// 此时会返回当前等待时的“下标”。
                if (g != generation)
                    return index;

		// 等待超时,也是会触发屏障失效或破坏
                if (timed && nanos <= 0L) {
                    breakBarrier();
                    throw new TimeoutException();
                }
            }
        } finally {
		// 释放排它锁
            lock.unlock();
        }
}

// 关键方法,重载
public int await() throws InterruptedException, BrokenBarrierException {
        try { // 非超时
            return dowait(false, 0L);
        } catch (TimeoutException toe) {
            throw new Error(toe); // cannot happen
        }
}
// 关键方法,重载,支持超时
public int await(long timeout, TimeUnit unit)
        throws InterruptedException,
               BrokenBarrierException,
               TimeoutException {
        return dowait(true, unit.toNanos(timeout));
}

// 屏障是否损坏
public boolean isBroken() {
        final ReentrantLock lock = this.lock;
        lock.lock();
        try {
            return generation.broken;
        } finally {
            lock.unlock();
        }
}
// 重置屏障,唤醒当前等待的线程,开启下一次
public void reset() {
        final ReentrantLock lock = this.lock;
        lock.lock();
        try {
            breakBarrier();   // break the current generation
            nextGeneration(); // start a new generation
        } finally {
            lock.unlock();
        }
}

// 获取到达屏障等待的线程数量
public int getNumberWaiting() {
        final ReentrantLock lock = this.lock;
        lock.lock();
        try {
            return parties - count;
        } finally {
            lock.unlock();
        }
}
至此,该类分析完毕,核心方法: private int dowait(boolean timed, long nanos);
案例
// 为了方便debug,3个线程分开定义,修改睡眠时间进行不同状态debug
private static void test() throws Exception {
        CyclicBarrier cyclicBarrier = new CyclicBarrier(3);
        // 为了方便进入debug,所以分开 new Thread
        new Thread(() -> {
            System.out.println(DateUtils.getCurrentDateTime() + " 线程1进入等待");
            try {
                cyclicBarrier.await();
                System.out.println(DateUtils.getCurrentDateTime() + " 线程1开始执行任务");
                Thread.sleep(1 * 1000);
                System.out.println(DateUtils.getCurrentDateTime() + " 线程1执行完成");
            } catch (Exception e) { e.printStackTrace(); }
        }, "1").start();

        new Thread(() -> {
            System.out.println(DateUtils.getCurrentDateTime() + " 线程2进入等待");
            try {
                Thread.sleep(3 * 1000);
                cyclicBarrier.await();
                System.out.println(DateUtils.getCurrentDateTime() + " 线程2开始执行任务");
                Thread.sleep(2 * 1000);
                System.out.println(DateUtils.getCurrentDateTime() + " 线程2执行完成");
            } catch (Exception e) { e.printStackTrace(); }
        }, "2").start();

        new Thread(() -> {
            System.out.println(DateUtils.getCurrentDateTime() + " 线程3进入等待");
            try {
                Thread.sleep(5 * 1000);
                cyclicBarrier.await();
                System.out.println(DateUtils.getCurrentDateTime() + " 线程3开始执行任务");
                Thread.sleep(3 * 1000);
                System.out.println(DateUtils.getCurrentDateTime() + " 线程3执行完成");
            } catch (Exception e) { e.printStackTrace(); }
        }, "3").start();

        Thread.sleep(1000 * 1000);
}
输出结果:
2021-11-21 14:26:01 线程1进入等待
2021-11-21 14:26:01 线程2进入等待
2021-11-21 14:26:01 线程3进入等待
2021-11-21 14:26:06 线程3开始执行任务
2021-11-21 14:26:06 线程2开始执行任务
2021-11-21 14:26:06 线程1开始执行任务
2021-11-21 14:26:07 线程1执行完成
2021-11-21 14:26:08 线程2执行完成
2021-11-21 14:26:09 线程3执行完成
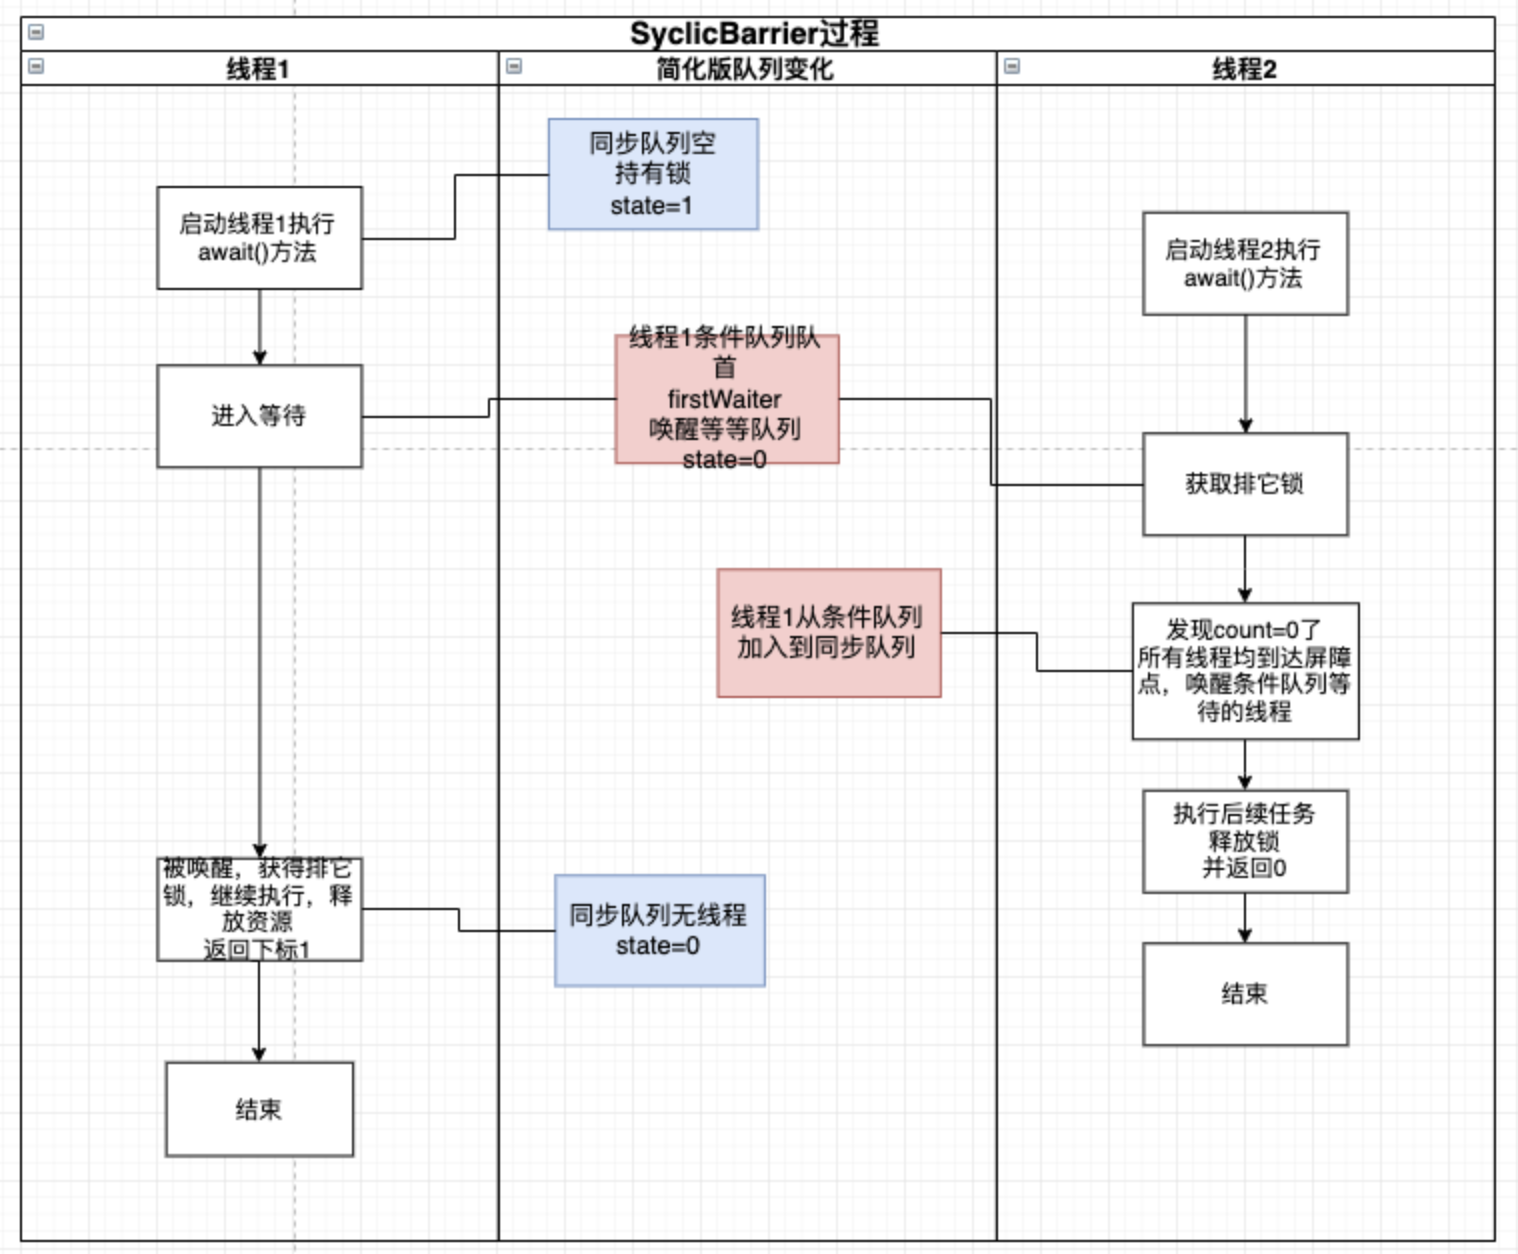
案例分析
大致流程图,简化为两个线程的同步屏障
总结几个点
1、只要屏障被某一个线程破坏,其它所有的线程都会抛出异常,同时等待中的被唤醒后也抛出异常。
2、是结合ReentrantLock排它锁加上Condition条件队列进行实现处理的。
3、因为使用排它锁进行await等待,性能不高。